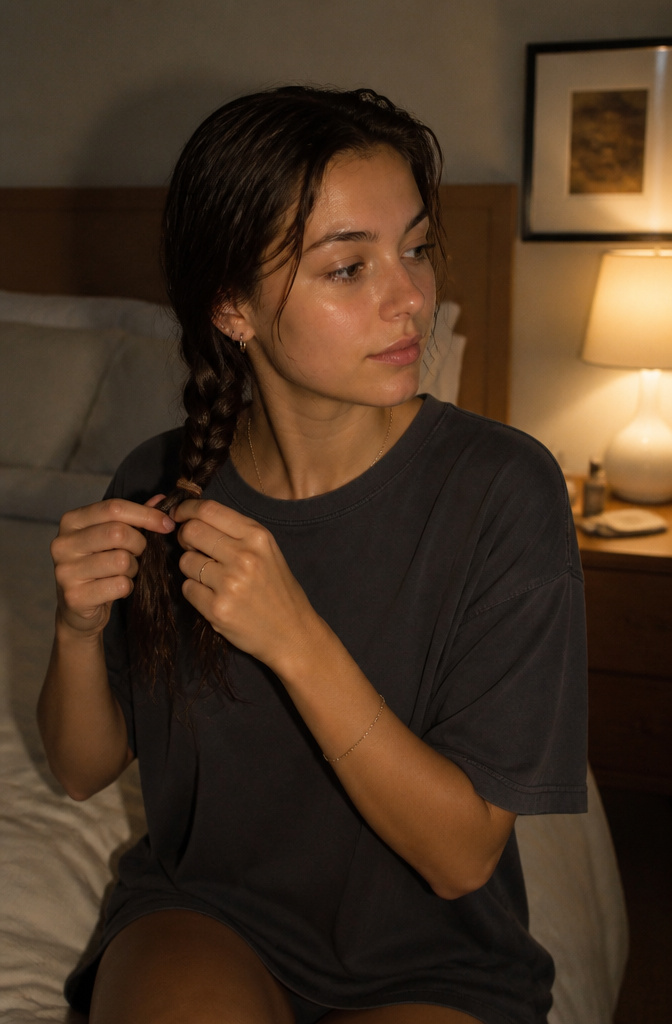

I spent a lot of my childhood watching my mom French braid my sister’s hair and thinking there was no way I’d ever manage it on myself. Doing it on someone else is one thing, you can see what you’re doing.
Doing it on your own head, working blind by feel, felt like a completely different skill. It took a lot of lopsided, half-collapsed attempts before it finally clicked, but once it does, it genuinely does become muscle memory.
If you’re at the stage where every attempt still looks a bit like a bird’s nest, here’s the version of this I wish someone had explained to me from the start, broken down in the order that actually matters.
Get Your Hair Ready First
There’s some disagreement among stylists on damp versus dry hair, so don’t worry too much if you’ve heard conflicting advice. Damp hair is generally easier for beginners to control since it’s more forgiving and less likely to fly around while you’re learning the motion. Dry hair holds sections better once you’re more practiced, since it’s less fragile and less likely to snap while you’re working close to the scalp.
Either way, comb through your hair completely before you start. Any hidden knot will stop your braid dead in the middle, and you don’t want to be untangling hair with one hand while trying to hold three sections with the other. If your hair is freshly washed and feels a little too slippery to hold a section, a light mist of texturizing spray or a bit of dry shampoo gives it enough grip to actually stay put.
Part It Clean
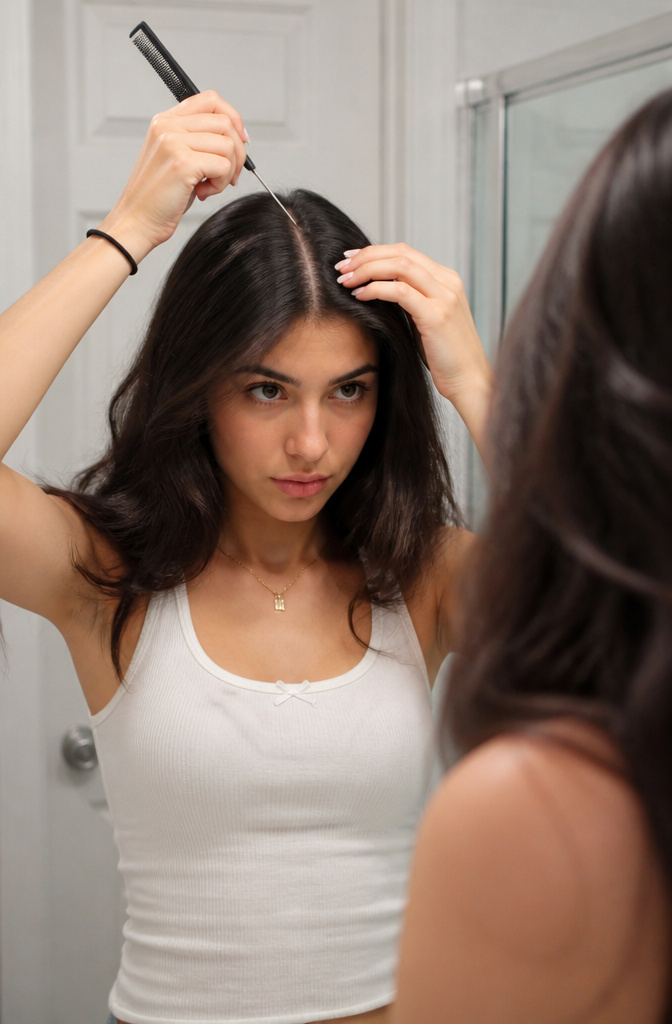
Use the end of a rat-tail comb, or the pointed handle of any comb, to create a straight, even part from your forehead all the way to the back of your neck. This step matters more than it seems like it should. A crooked part is the reason a lot of first braids end up leaning to one side by the time you reach the bottom.
If you’re doing a single French braid, you don’t need a full part, just section off a triangle of hair at the crown, roughly three to four inches wide, right at your hairline.
If you’re doing two braids, or pigtails, part all the way down the center and clip one side out of the way completely so you’re not accidentally grabbing hair from both sections while you work.
Start With Three Even Sections
Take your starting section at the crown and split it evenly into three. This sounds obvious but it’s where most early mistakes happen, if your three sections aren’t close to equal, the braid drifts to one side almost immediately and it’s hard to correct later. Hold all three sections taut and close to your scalp before you make your first cross.
Learn the Actual Rhythm
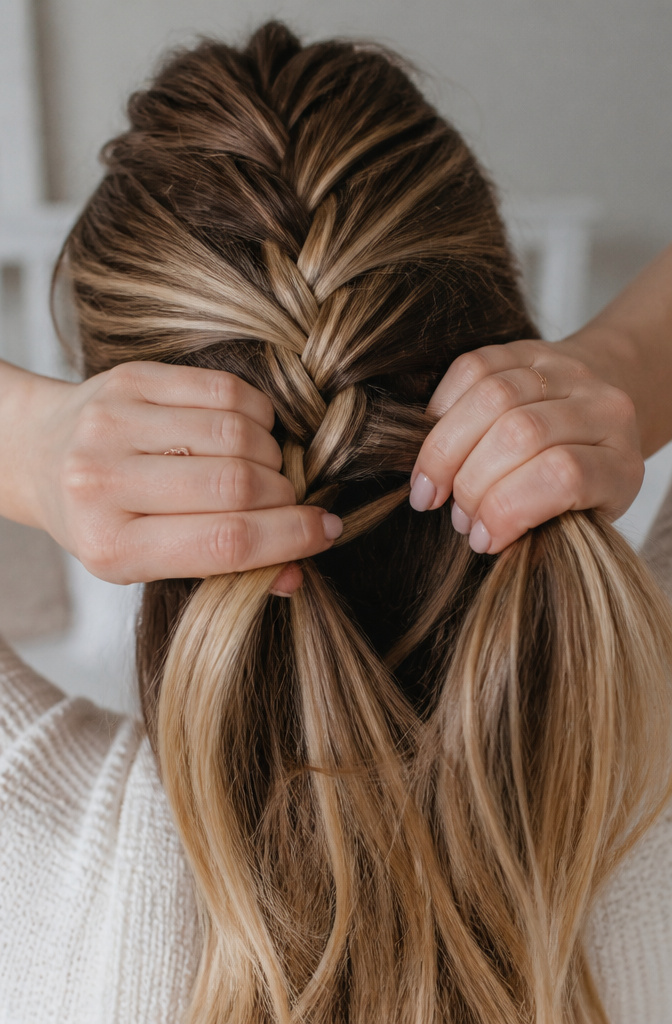
A French braid is really just a normal three strand braid with one extra habit added in. The core motion is the same as a regular braid: outer strand crosses over the middle strand, then the other outer strand crosses over the new middle strand, back and forth.
The difference is what happens right before each cross. Every time you’re about to cross a strand over the middle, you pick up a small new section of loose hair from that side of your head first and add it into the strand before crossing. So the pattern becomes gather a bit of hair, combine it with your strand, cross it over. Then repeat on the other side. Some people find it easier to think of it as three words on a loop: gather, combine, cross.
It feels slow and clunky at first because you’re doing three things at once with hands you can’t fully see. That’s normal. It gets faster once your fingers learn where to reach without you having to think about it.
Keep Adding Hair as You Go
Continue down your head picking up small sections evenly on each side as you cross. Try to keep the sections you’re adding roughly the same size on both sides, since uneven sections are what make one side of the braid look thicker than the other by the time you’re done. Keep your hands close to your scalp while you do this part, it keeps the braid tight and stops it from ballooning outward.
Switch to a Regular Braid Once You Run Out of Hair to Add
Once you reach the nape of your neck and there’s no more loose hair left to gather in, you’re just doing a standard three strand braid for the rest of the length. Continue crossing the outer strands over the middle all the way to your ends, then secure with a hair elastic.
If you want a tighter, more polished finish, keep your hands close to the braid the whole way down. If you want something looser and more relaxed, hold your hands slightly farther from your scalp as you go and let the braid sit a little looser.
Loosen It Up If You Want a Softer Look
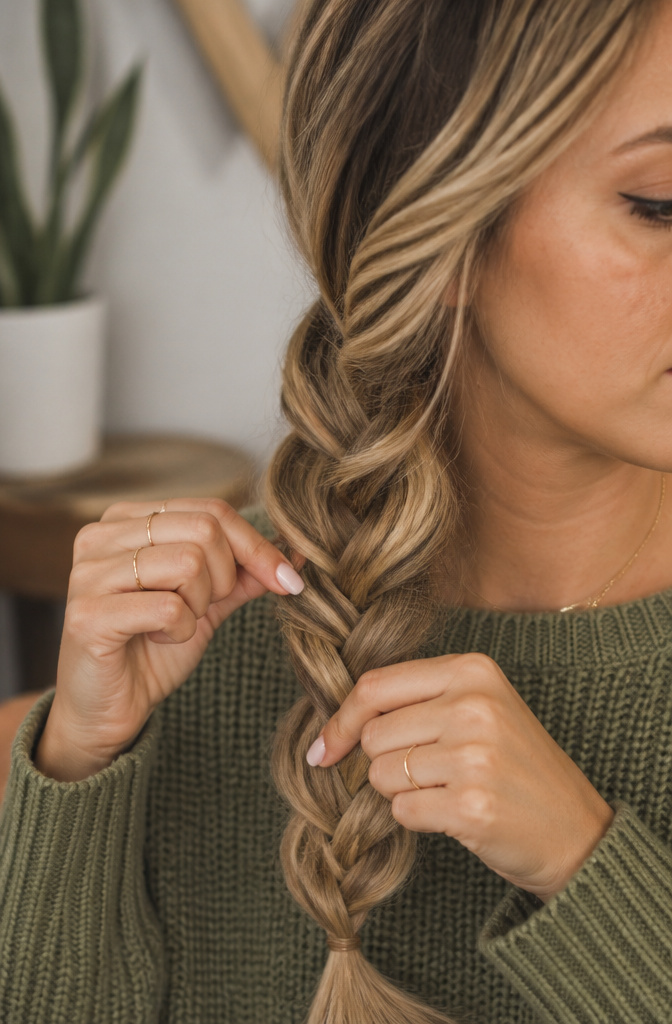
A freshly finished French braid usually looks tighter and neater than most people actually want to wear. If you’re after a softer, more lived-in look, gently pull on the outer edges of each woven section along the braid, a technique sometimes called pancaking. Pull a little at a time and go slow, it’s much easier to loosen a braid gradually than to tighten one back up once you’ve overdone it.
Doing Two Braids Instead of One
If you’re going for pigtail braids rather than a single one, the process is exactly the same, just repeated twice. Finish and secure the first side completely before you unclip the second section and start on it. Trying to work on both at once is where most people lose track of their sections and end up with two braids that don’t match.
Setting It So It Actually Lasts
Once both braids, or your single braid, are secured, a light finishing spray helps smooth down any flyaways and keeps the shape locked in for the day. If you want a bit more hold through the crown specifically, a small amount of hair oil or serum smoothed over the surface helps tame frizz without making the braid feel stiff or heavy.
Give Yourself Room to Get It Wrong First
This is the part nobody tells you clearly enough. Your first French braid on your own head is very likely going to look messy, probably lopsided, maybe half falling apart by the time you reach the bottom. That’s not a sign you’re bad at this, it’s just what learning a blind, three-handed motion looks like the first few times. It gets noticeably better by your third or fourth try, and by your tenth it usually stops feeling like a struggle at all.
A Few Things That Help Along the Way
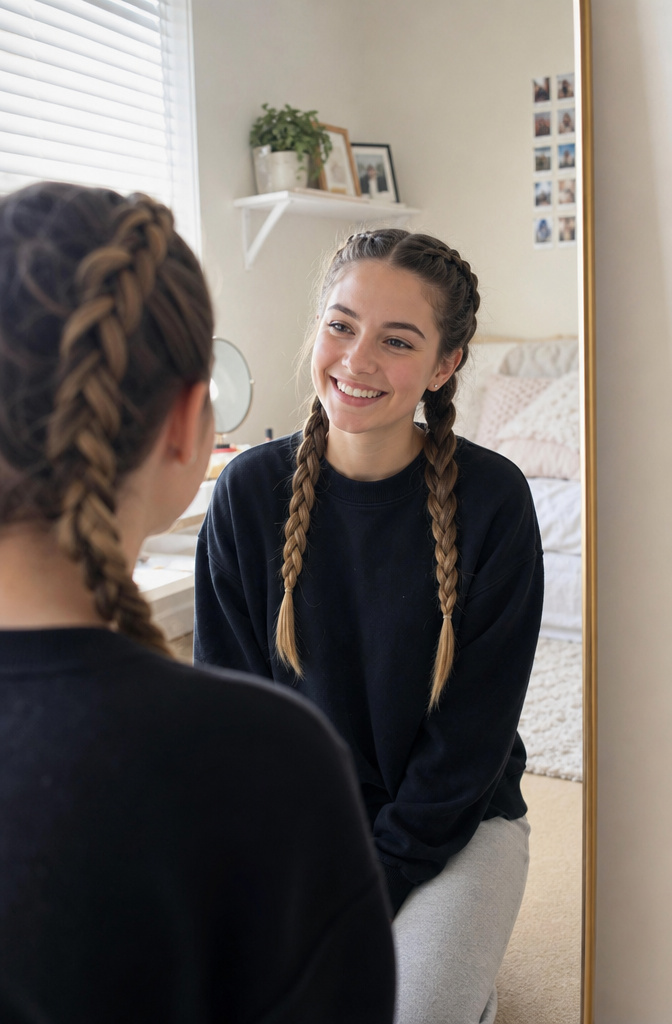
Practice on damp hair first if dry hair feels too slippery to hold, then switch to dry hair once the motion feels familiar. Keep a mirror positioned so you can glance at the back of your head periodically, even a quick check helps you catch a section that’s drifting off to one side before it gets too far along. And don’t be afraid to unravel a section and redo it if it feels wrong partway through, it’s much faster to fix a small section than to finish the whole braid and start completely over.